
Practical component resource
Wet-Bench HMI Sealing and Routing Checklist
Use this checklist only after confirming a separate external panel, overlay or tail-equipped interface component. Chemical compatibility still requires the actual media and test conditions.
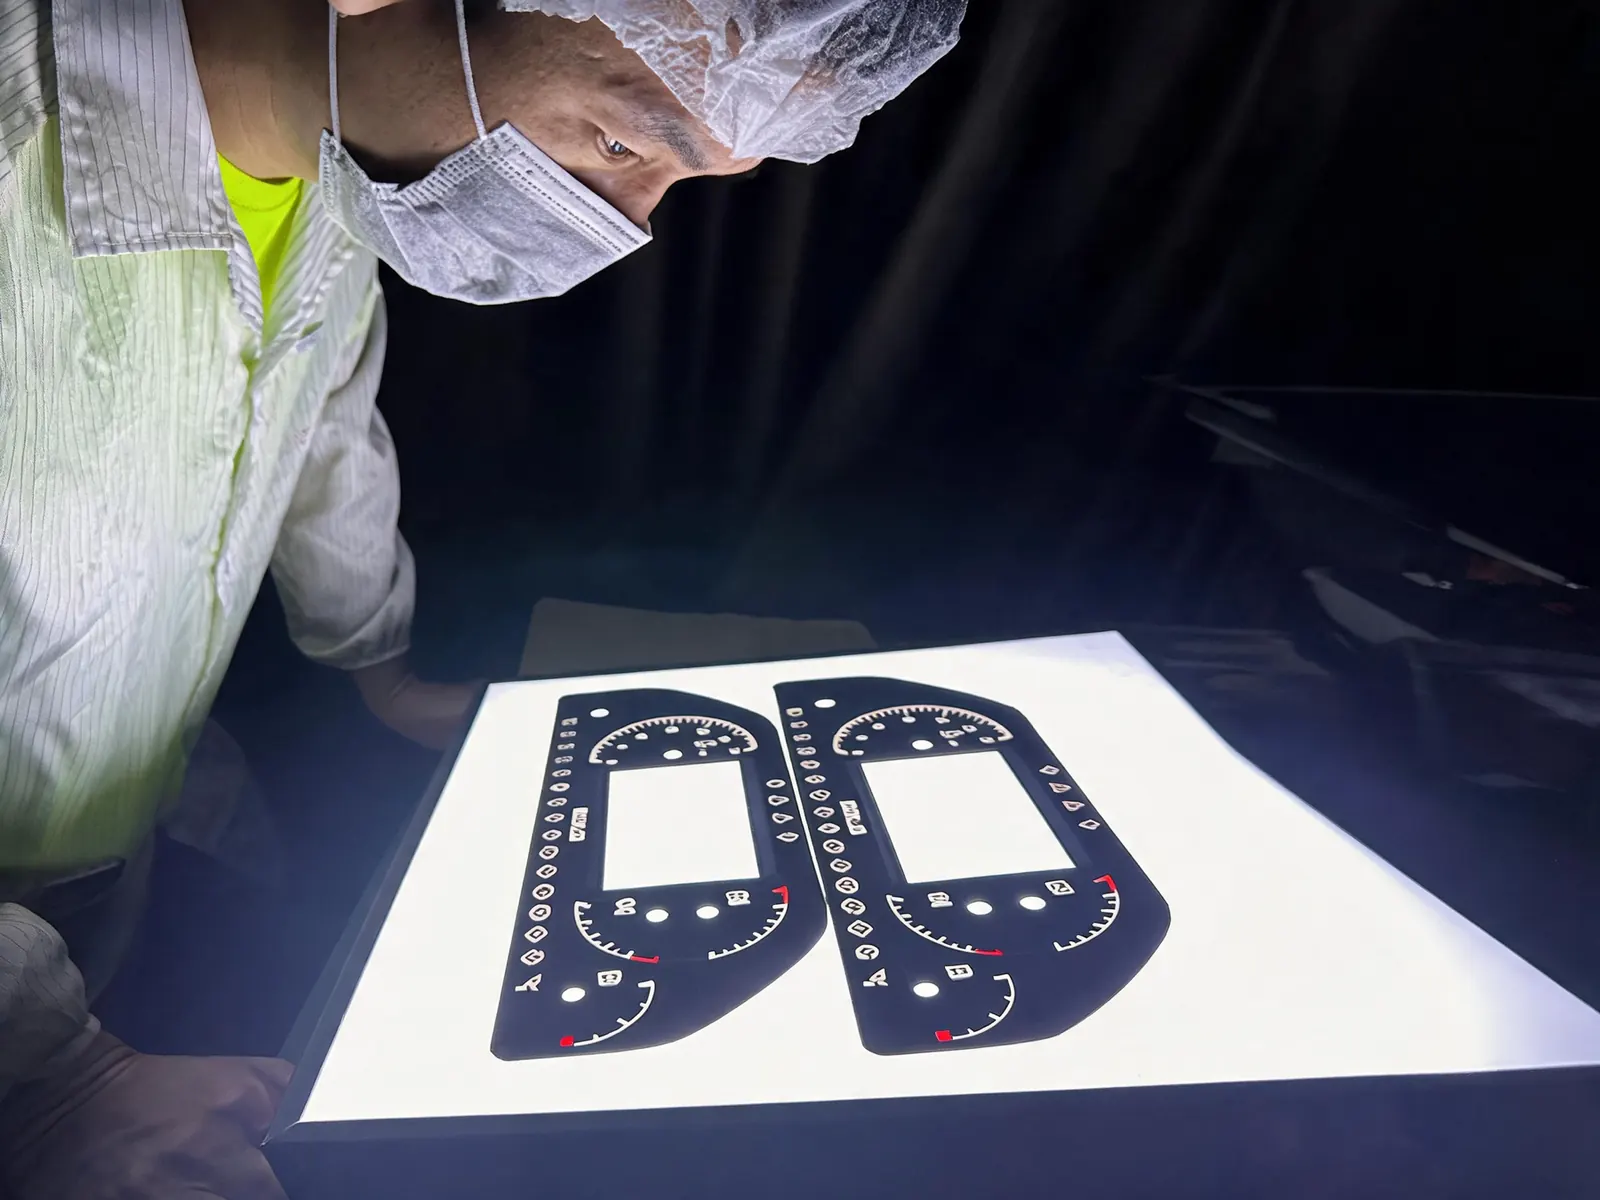
HTML checklist and printable PDF
The HTML version stays readable on mobile. The PDF is optional for internal review or supplier comparison.
1. Environment and component boundary
- External panel type confirmed
- Process media and cleaning exposure documented
- Operating temperature and contact time documented
- Housing material and surface preparation defined
2. Window, adhesive and sealing edge
- Display window and housing cutout verified
- Flat bonding surface and adhesive land width checked
- Sealing edge continuous around openings
- Splash, drainage and condensation paths reviewed
3. Tail and connector route
- Tail existence and exit direction confirmed
- First bend avoids pinch points and moving parts
- Connector clearance and insertion access confirmed
- Strain relief and service route reviewed
4. Approval and inspection
- Drawing, artwork, material and adhesive revisions match
- Sample approval reference recorded
- Inspection points and acceptance limits defined
- Chemical-compatibility test method assigned by the equipment owner
Is Your Interface Component Within Our Scope?
Choose the closest description. This first step avoids treating a complete LCD or HMI controller as a printable front-panel project.
Frequently asked questions
How is a wet-bench front panel evaluated for sealing and routing?
Confirm the part boundary, then review the window, bonding land, edge path, openings, tail route, connector access and housing assembly.
Does this checklist confirm chemical resistance?
No. Compatibility depends on the exact material system, media, concentration, temperature, contact time and agreed test method.
Can I start with photos?
Yes. A front, back and enclosure-opening photo can support an initial component-scope and routing review.