
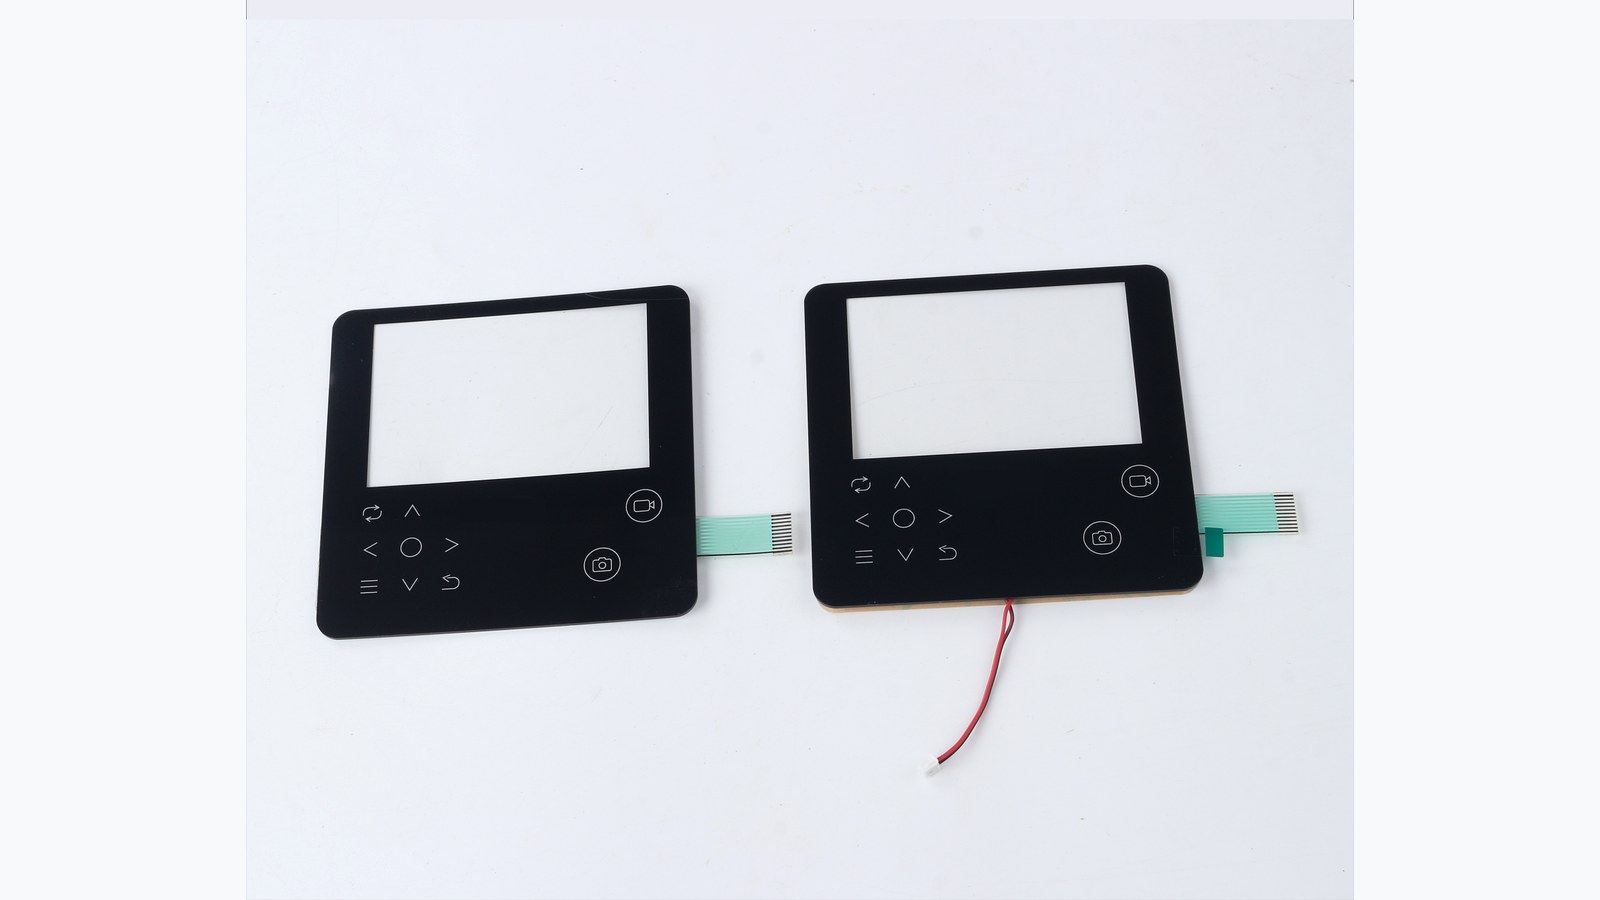
If a PET graphic overlay will sit on a medical device, handheld controller, access panel, or electronics housing, buyers should approve more than the printed artwork. Confirm cleaning exposure, display window clarity, surface finish, adhesive contact, embossing height, and cutout tolerance before mass production. These details decide whether the overlay still looks clean, stays bonded, and aligns with the enclosure after real use.
Baoshengda's graphic overlay film panel projects often start with a drawing and color file, but the sample review should also test how the overlay behaves on the real housing. A flat sample can look acceptable on a desk and still fail after alcohol wiping, uneven housing paint, or a tight display window fit.
What should buyers check first on a PET graphic overlay sample?
Start with the parts that the operator sees and touches every day. The sample should answer these questions before the buyer releases a larger order:
- Does the display or lens window stay clear after the protective film is removed?
- Do printed icons and button positions line up with the housing, LEDs, or LCD area?
- Does the surface finish hide fingerprints, glare, or cleaning marks enough for the use environment?
- Does the adhesive contact the housing evenly around windows, screw holes, and curved edges?
- Do embossed keys return cleanly without whitening, cracking, or rubbing on the enclosure?
- Does the tail, connector, or nearby cable path avoid sharp bends after assembly?
For a medical or electronics product, the window and adhesive questions usually matter more than decorative color. A slightly different black tone may be acceptable. A window that shows haze, dust, trapped air, or edge lift is harder to fix after tooling and printing are locked.
Cleaning exposure changes the material choice
PET is common for overlays because it can give good dimensional stability, print protection, and surface finish options. The right film still depends on how the product is cleaned.
If operators use dry hands and indoor storage, a matte PET surface may be enough. If the device is wiped with alcohol, disinfectant, detergent, or oily gloves, the buyer should confirm the cleaner type, wipe frequency, and whether the printed side is protected behind the film. The risk is not only fading. Repeated wiping can expose edge weaknesses around windows, corners, and embossed areas.
Ask for sample-stage checks using the same cleaning method planned for field use. Do not approve the overlay only from a color photo. Check the real sample under bright light and at an angle, because fine scratches and haze often appear there first.
Window areas need a separate approval step
Display windows, LED windows, and transparent lens areas should be reviewed separately from the printed overlay. A buyer should confirm:
- Window material and thickness.
- Gloss, matte, or hard-coated surface requirement.
- Display opening size and tolerance.
- Whether there is adhesive near the visible display area.
- Need for anti-glare, anti-scratch, or anti-fingerprint behavior.
- Acceptable level of dust, bubbles, or edge marks during lamination.
One common failure mode is a sample that passes artwork approval but shows a visible adhesive edge near the display after assembly. Another is a window that looks clear indoors but creates glare when the operator tilts the product under strong light. If the product has a screen, send the screen size, active display area, bezel color, and assembled housing sample or 3D drawing.
Adhesive fit is an assembly issue, not only a material issue
Adhesive selection should match the enclosure material, surface texture, coating, curvature, and operating environment. A stronger adhesive is not always the better answer. It can make rework harder, increase squeeze-out risk near windows, or create visible edge marks on thin overlays.
Before approving the sample, assemble the overlay on the real housing or a housing from the same process. Check whether the adhesive lands on flat support areas. Look closely around window corners, screw bosses, ribs, raised paint, powder coating, and textured plastic. If the adhesive bridges over a gap, that area may lift later even if the initial bond feels strong.
For low-volume sample approval, ask the supplier to mark adhesive-free zones, window clear zones, and tail exit space on the drawing. This helps both sides avoid a sample that looks correct as a loose part but is difficult to install cleanly.
Surface finish and embossing should match the operator task
A glossy overlay can make colors look sharp, but it may show fingerprints and glare. A matte or textured finish can reduce glare, but it may slightly soften the appearance of fine icons or display windows. The buyer should choose the finish based on lighting, glove use, cleaning method, and brand appearance.
Embossing also needs a practical limit. Raised keys can improve finger location, but too much height or a tight corner radius can stress the film. For overlays above membrane switches, the embossing should match the switch travel and actuator position. For decorative overlays without switch layers, embossing should not create assembly gaps or weak adhesive contact.
RFQ checklist for PET graphic overlay projects
Send these details when requesting a quote or sample:
- 2D drawing with size, tolerance, window areas, cutouts, holes, and corner radius.
- Artwork file with Pantone, RAL, CMYK, or approved color references.
- PET or PC preference, thickness target, and surface finish requirement.
- Window requirements such as clear, matte, hard coat, anti-glare, or display matching.
- Adhesive surface details, including housing material, texture, coating, and curvature.
- Cleaning chemicals, wipe frequency, outdoor or indoor use, and expected temperature range.
- Embossing areas, key feel target, and whether the overlay covers a membrane switch.
- Tail, connector, cable, or assembly clearance requirements if the overlay is part of an HMI stack.
- Prototype quantity, expected production quantity, and sample approval deadline.
If you are preparing a new overlay project, send the drawing, artwork, housing details, cleaning conditions, and sample quantity through the Request Quote page. For an early design review, photos of the current housing and a marked window area are often enough to identify the first material and adhesive risks before a formal quotation.
Need help reviewing a structure?
Send your drawing, photos, application, and quantity. Baoshengda can help check the structure before sampling.
Send Drawing for Quote