
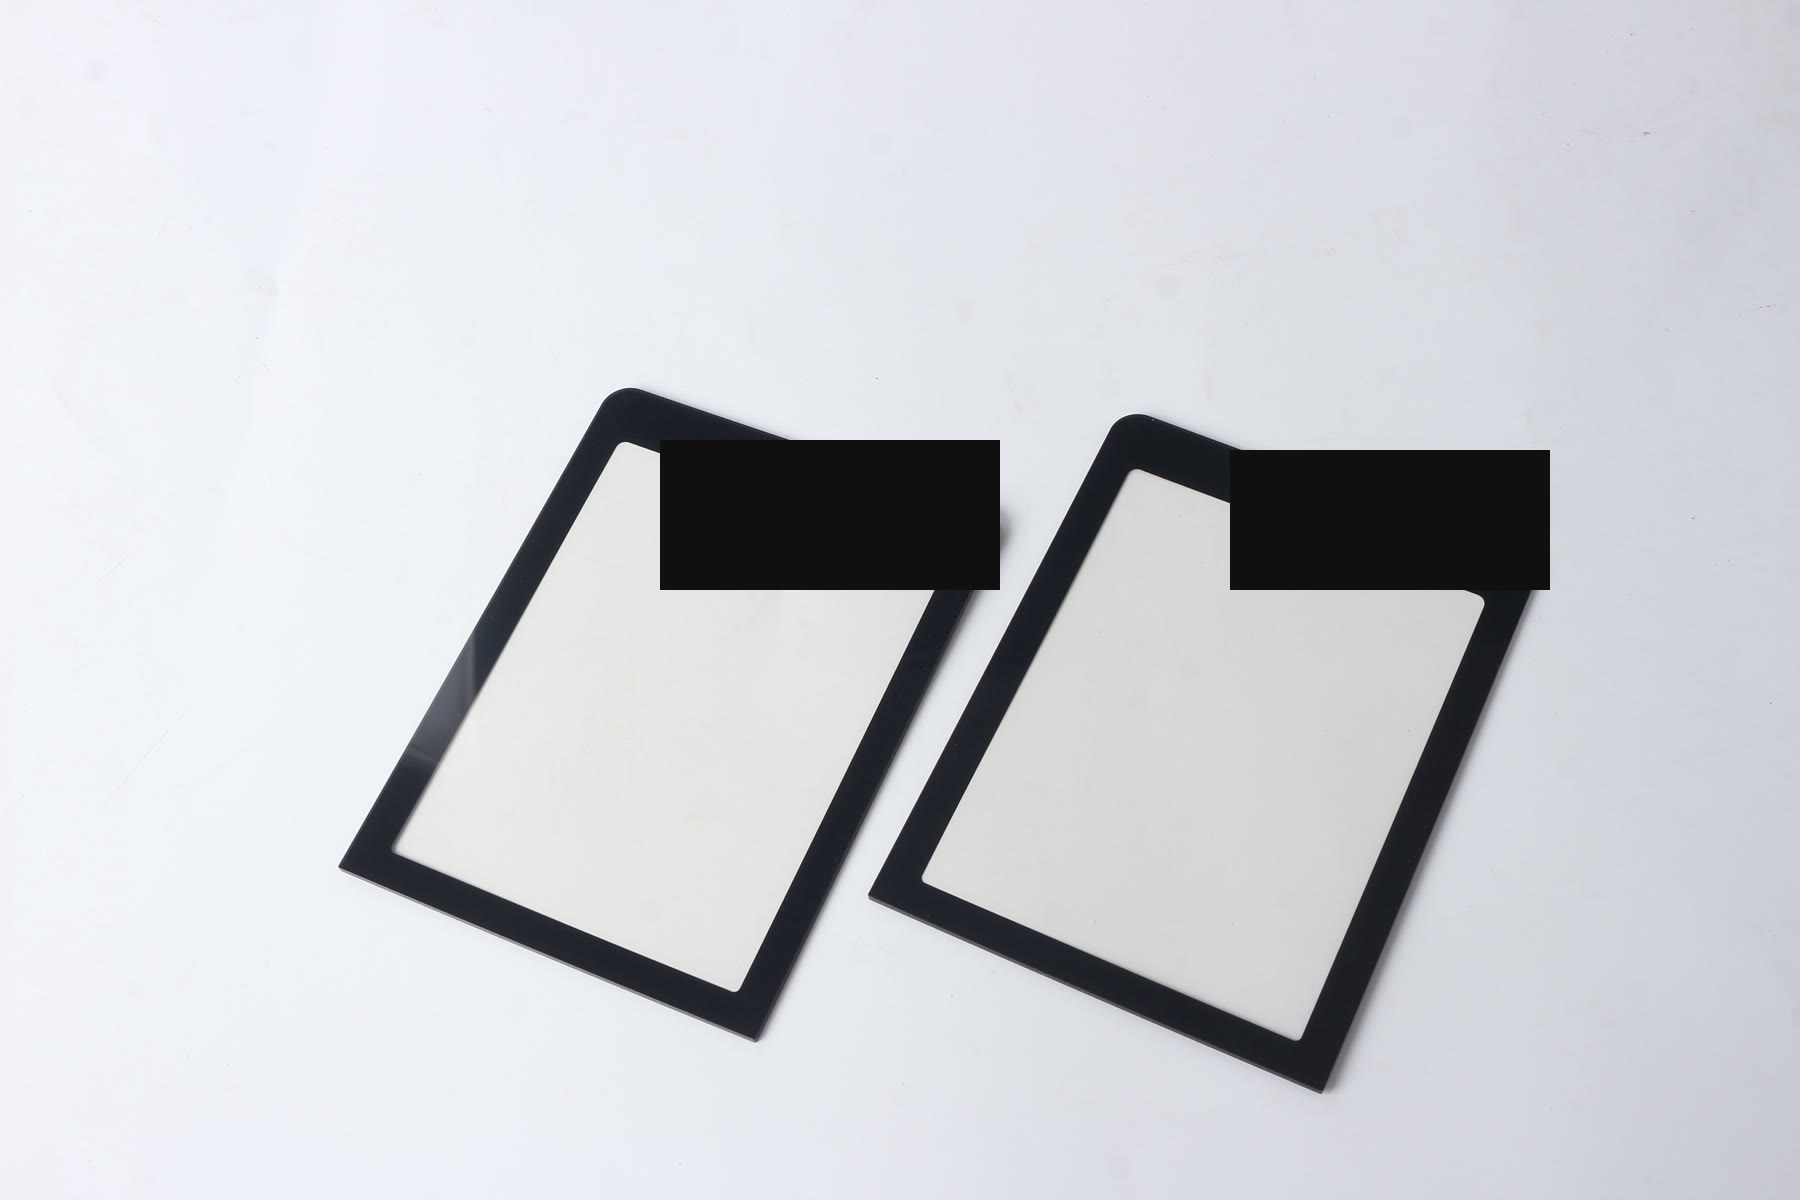
A PET graphic overlay sample should not be approved only because the printed face looks clean. The buyer should check artwork tolerance, color matching, die-cut fit, window borders, adhesive keep-out, and the mounted appearance on the real housing. These points decide whether the overlay will look aligned after assembly, not only on a flat table.
For custom PET graphic overlays, Baoshengda usually needs the drawing, artwork file, housing reference, window positions, surface finish request, adhesive area, and expected cleaning or touch conditions before sample work starts.
Which artwork tolerances should be checked first?
Start with features that a user will notice immediately after assembly:
- Display-window border width and centering.
- Button icon position against the molded key or touch area below.
- LED or indicator window alignment.
- Corner radius match against the housing recess.
- Screw hole, locating hole, or clearance cutout position.
- Edge distance between printed color blocks and the die-cut outline.
A common sample-stage risk is approving the overlay as a loose part, then finding that the display window looks shifted once the overlay is bonded to the enclosure. If the housing drawing and overlay drawing came from different revision files, ask the supplier to mark the drawing revision used for the sample.
How should buyers review color and surface finish?
Review color under the light condition that matches the final equipment. A glossy black border can look deep in an office but show fingerprints or glare on a handheld device. A matte texture can reduce glare, but it may soften the printed color compared with a glossy surface.
Useful review checks:
- Compare the sample with the approved color target, not only with a screen image.
- Check the same color on flat areas and near curved or narrow borders.
- Confirm whether the surface is gloss, semi-gloss, matte, or textured matte.
- Check if icons remain readable after the surface finish is applied.
- If the overlay has transparent or smoked windows, review the window with the real display or light source behind it.
The tradeoff is simple: a stronger texture may help scratch hiding and glare control, but it can reduce sharpness on small legends or fine icons. Buyers should decide which side matters more for the equipment use case.
What die-cut and housing-fit details cause late changes?
Die-cut fit problems are often small on the drawing but visible on the assembled sample. Ask for a mounted review when the overlay has narrow borders, large windows, or a housing recess.
Check these details before signing off:
- Does the outer profile sit inside the recess without lifting at corners?
- Are holes clean and centered over bosses, screws, or light pipes?
- Is the adhesive set back far enough from windows and edges?
- Do display windows avoid shadow, edge silvering, or exposed adhesive?
- Does the overlay edge follow the housing radius without forced bending?
- Are protective liners easy to remove without touching the adhesive area?
A practical failure mode is edge lift caused by a tight housing radius, paint thickness, or a recess that is smaller than the drawing. If the enclosure is powder coated, painted, or textured, send a physical housing or current surface specification with the RFQ.
What should be compared between artwork proof and physical sample?
Do not treat a PDF proof and a physical sample as the same approval step. The proof checks content and placement. The physical sample checks print behavior, material finish, die-cut shape, adhesive fit, and mounted appearance.
Use this comparison table during review:
| Review item | PDF or artwork proof | Physical sample |
|---|---|---|
| Text and icon content | Confirm spelling, symbol set, and revision | Confirm readability after printing and surface finish |
| Position | Check dimensions and reference points | Check alignment on the real housing |
| Color | Check named target or swatch reference | Check printed color under real lighting |
| Window area | Check size and location | Check clarity, border shadow, and display fit |
| Adhesive | Check keep-out zones | Check edge contact, liner removal, and lift risk |
If a buyer only sends a screenshot, the supplier may miss font conversion, line thickness, or color-space issues. Send editable artwork when possible, plus a dimensioned drawing that defines the controlled features.
RFQ checklist for PET graphic overlay samples
Send these items before asking for a quotation or first sample:
- Overlay drawing with outer size, tolerance, holes, windows, corner radius, and controlled reference points.
- Editable artwork file plus PDF preview.
- Color target, Pantone reference, or approved previous sample if color matching matters.
- Surface finish request, such as gloss, matte, fine texture, or anti-glare.
- Material choice if already decided, such as PET thickness and window requirements.
- Adhesive area, liner preference, and any adhesive keep-out zones.
- Housing drawing, housing photo, or physical enclosure for mounted fit review.
- Use environment, including cleaning chemicals, glove use, sunlight, abrasion, or indoor-only use.
- Expected sample quantity, annual quantity, and packaging needs.
If the project is ready for a sample or drawing review, send the files through the Request Quote page and note which dimensions are function-critical. That helps the factory separate cosmetic preferences from fit-critical tolerances during quotation and sample planning.
Need help reviewing a structure?
Send your drawing, photos, application, and quantity. Baoshengda can help check the structure before sampling.
Send Drawing for Quote