
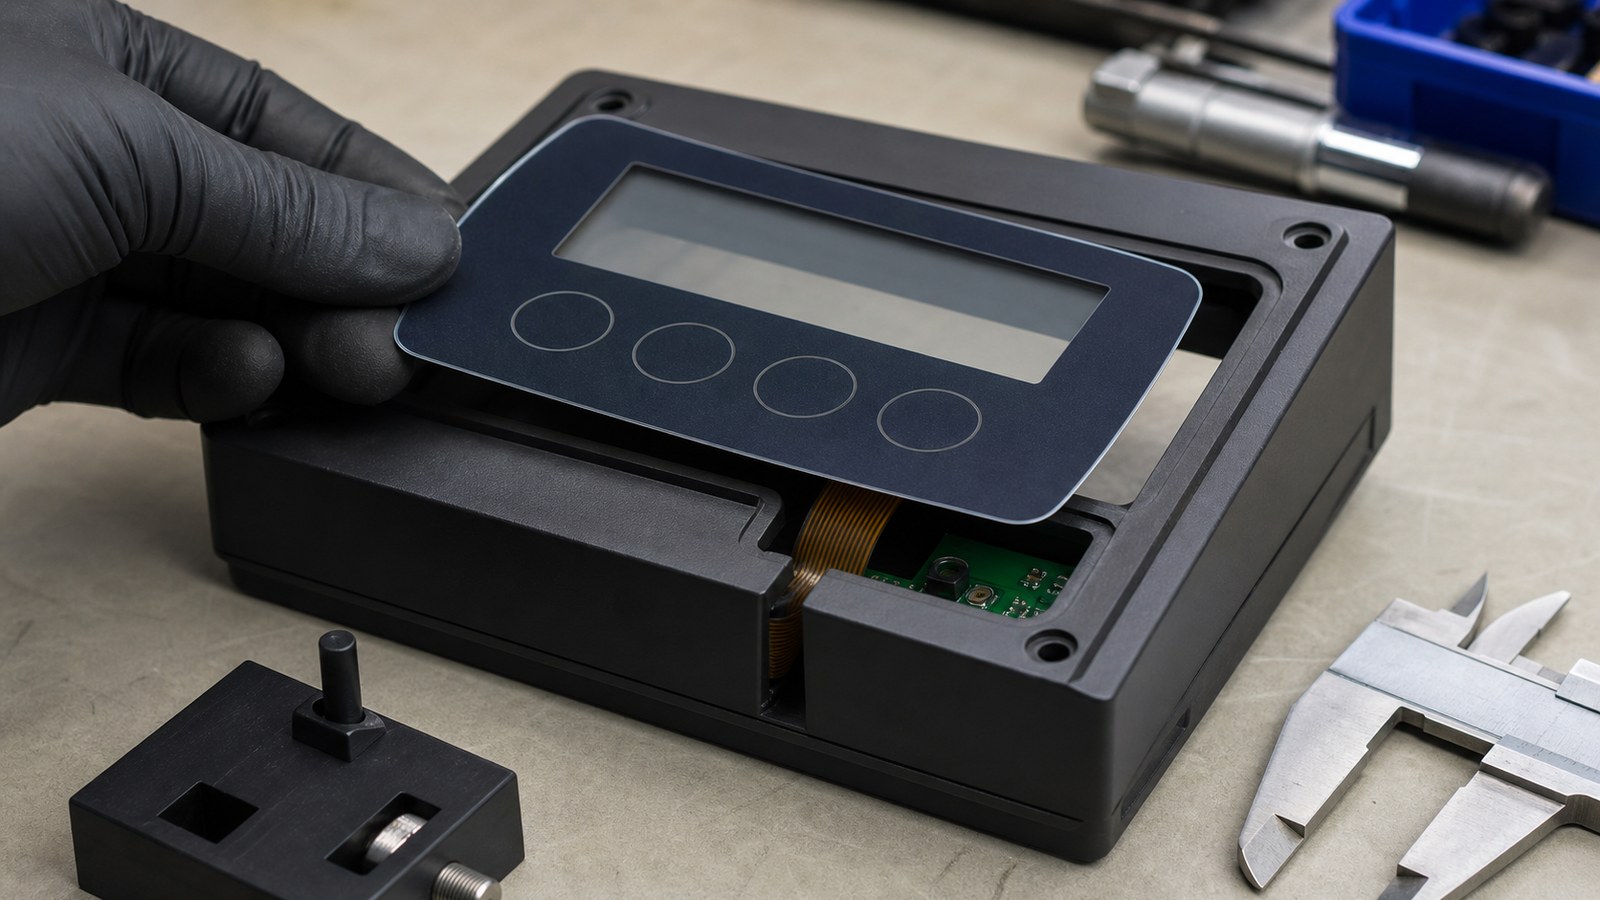
Quick answer: before sampling a PET graphic overlay for an ABS injection-molded housing, confirm the real housing recess, adhesive landing width, display window tolerance, corner radius, surface finish, and tail exit path in the mounted condition. A flat artwork proof cannot show whether the overlay will bridge over a raised lip, lift at the corners, or expose the display window edge after assembly. Baoshengda's graphic overlay film panel page is the closest product reference for this buyer question.
ABS housing variation can move a display opening, reduce adhesive contact, or push the overlay edge above the recess. Buyers should review the printed film and the molded housing as one assembly rather than approving them as separate parts.
What should buyers check on the ABS housing before ordering overlay samples?
Start with the plastic part, not only the printed film. ABS housings often have molded draft angles, small sink marks, screw bosses, display openings, ribs, and recessed areas. These features decide whether a PET overlay can sit flat after the liner is removed.
Ask the supplier to review these points before sample cutting:
- The real housing drawing or measured sample, including the recess depth and corner radius.
- Overlay outer size compared with the molded pocket, not only the nominal CAD outline.
- Adhesive landing width around the full perimeter and around each display or lens opening.
- Any textured, polished, painted, or coated ABS surface that may change adhesive behavior.
- Tail exit position, bend direction, connector side, and clearance under the housing cover.
A useful sample review places the overlay on the actual housing or a printed fixture with the same recess. If the first review happens only on a flat table, the buyer may miss corner lift and window misalignment.
Where do fit problems usually appear?
Most failures are small, but they are visible to the end user. A polished PET surface can make edge lift, trapped dust, or display-window shift easier to notice than on a matte industrial panel.
Use this review list during RFQ and sample approval:
- Housing recess: a tight pocket can pinch the overlay edge or leave no tolerance for adhesive thickness. Send a 2D drawing, 3D step file, or measured housing photo.
- Display window: a shifted window can expose the LCD edge or cover active display area. Send the window size, visible area, lens stack, and display sample photo.
- Adhesive land: narrow adhesive zones near holes or corners can lift after cleaning or heat. Send the adhesive area drawing and surface material note.
- Tail exit: a tail that bends too sharply can push the overlay up from below. Send tail direction, bend space, connector type, and PCB position.
- Surface finish: gloss, texture, coating, or release agent can affect bonding and appearance. Send ABS finish, coating notes, and cleaning process.
For the product team, the practical question is not whether the overlay can be printed. It is whether the printed part still fits after the adhesive, liner, lens, and housing tolerance are combined.
How should window and key alignment be reviewed?
Review the visual stack in the assembled position. Display windows, indicator holes, embossed areas, and printed icons should be checked against the housing and the electronics behind it.
Use this sample checklist:
- Place the overlay on the real housing and photograph it from the normal viewing angle.
- Check the display window with the LCD or lens installed behind the opening.
- Confirm that round keys, icons, and cutouts stay centered after the tail is routed.
- Look at the corners after light pressure, not only immediately after placement.
- Wipe the surface once with the planned cleaning method and check edge response.
If the design uses a polished PET surface, ask for a sample in the final gloss level. A matte proof may hide reflections and edge contrast that appear in the polished version.
What tradeoffs should be decided before tooling?
A tighter overlay-to-housing fit can look cleaner, but it leaves less room for molded variation. A larger clearance is easier to assemble, but it may show a wider housing gap. Thicker adhesive can help with minor texture or uneven plastic, but it may change the overlay height around the display window.
Buyers should decide these tradeoffs before approving the first sample:
- Clean edge appearance versus assembly tolerance.
- Glossy PET surface versus fingerprint and scratch visibility.
- Larger display opening versus better edge coverage.
- Stronger adhesive versus easier rework during pilot assembly.
- Longer tail for assembly convenience versus more bend and storage space.
These decisions are easier to make when the supplier has the housing details at the RFQ stage. They are harder to correct after the first printed sample has already been made.
What should be included in the RFQ package?
For an accurate quotation, send Baoshengda the overlay drawing, artwork file, ABS housing drawing or sample photos, display-window details, adhesive requirement, surface finish, tail route, connector position, quantity range, and use environment. If the housing is still changing, mark which dimensions are fixed and which are under review.
A practical route is to first compare the project with Baoshengda's graphic overlay film panel capability page, then send the housing and artwork details through the Request Quote page. The more clearly the RFQ shows how the PET overlay fits the ABS housing, the fewer sample loops are needed before pilot assembly.
Need help reviewing a structure?
Send your drawing, photos, application, and quantity. Baoshengda can help check the structure before sampling.
Send Drawing for Quote