
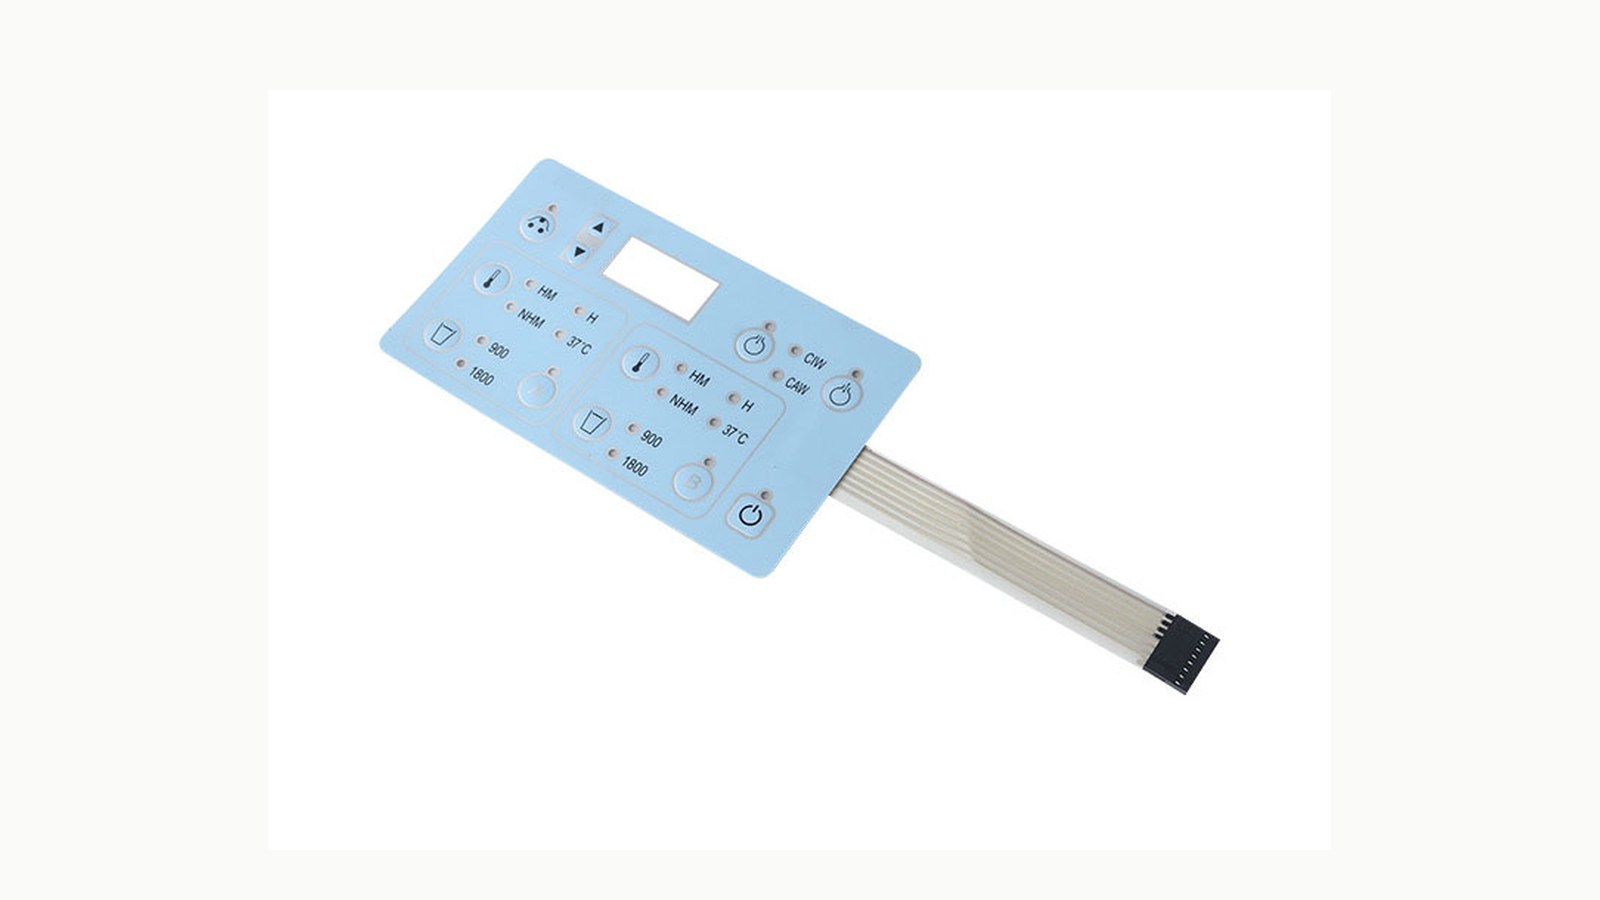
A buyer should not approve a backlit membrane switch sample only because the keys light up. The sample needs to stay readable at the real viewing angle, avoid light leaks around windows and key edges, and fit the housing stack without bending the tail or lifting the adhesive.
For a new project, treat the backlight as part of the HMI design, not as a late decoration. If your equipment will be used outdoors, near shop-floor lighting, or by gloved operators, send those conditions with the drawing before quotation. Baoshengda's backlit membrane switch capability is most useful when the buyer confirms the lighting target, overlay colors, window details, tail route, and sample test conditions together.
What should be checked before a backlit sample is approved?
Check the sample under the same use position as the final equipment. A panel that looks clear on a desk can become hard to read when it is mounted low on a machine, tilted toward a window, or viewed from the side.
Use this first-pass sample check:
- View the legends and icons from the normal operator distance, not only from close range.
- Turn the backlight on in a bright room and in a dim room.
- Look for LED hot spots, dark zones, and uneven color around larger keys.
- Check whether light leaks from the panel edge, tail exit, screw holes, or display window cutouts.
- Press each key while the light is on to see whether the embossing or spacer stack creates a visible shadow.
- Confirm that the tail exits the housing without being folded sharply near the light guide or LED area.
The direct answer: approve the sample only after the light pattern, icon contrast, adhesive fit, and tail route all match the final equipment layout.
Which design details cause readability problems?
The most common issue is not weak lighting. It is a mismatch between artwork, LED position, overlay color, and the way the panel is installed.
| Design detail | What can go wrong | What to confirm |
|---|---|---|
| Overlay color | Dark colors may need stronger light, while pale colors can expose uneven light. | Confirm color samples under the planned LED color and brightness. |
| Icon size | Thin symbols can disappear in daylight or become blurry when lit. | Send vector artwork and define the smallest readable icon. |
| Window and cutout areas | Display windows and screw holes can create edge glow. | Mark transparent, translucent, and blocked areas on the drawing. |
| LED position | LEDs too close to icons can create hot spots. | Confirm LED count, position, and light guide space before tooling. |
| Housing stack | A raised housing rib can press the panel and change the light gap. | Share the housing drawing or a section view around the panel. |
A useful failure mode to watch for is the sample that looks bright but has one glowing edge near the tail exit. That often points to a stack or sealing problem, not just an LED problem.
How should buyers test glare and viewing angle?
Do a simple viewing-angle test before approving the sample. Mount the panel on a flat board or the real housing, then check it from the operator's normal standing or seated position.
For outdoor or semi-outdoor equipment, add these checks:
- Put the sample near a window or bright light source and check icon contrast.
- Tilt the panel through the planned mounting angle range.
- Check the surface finish for glare, fingerprints, and cleaning marks.
- Compare the unlit artwork and the lit artwork. Both states need to be usable if the equipment can run in daylight.
- Ask whether a matte texture, different overlay color, or adjusted LED diffusion would reduce glare without making the panel look dull.
There is a tradeoff. Stronger lighting can improve night readability, but it can also expose hot spots, increase power needs, and make thin artwork look uneven. A darker overlay can hide internal structure, but it may need more careful light-guide design.
What RFQ details should be sent with the drawing?
A backlit membrane switch quote is easier to price when the lighting and mechanical limits are clear from the start. Before sending an RFQ, prepare:
- Overall panel size, key layout, tail length, connector type, and connector pitch.
- Artwork files with separate notes for printed legends, transparent windows, translucent icons, and blocked light areas.
- LED color, expected brightness, power supply, and whether the panel needs single-zone or multi-zone lighting.
- Housing opening size, adhesive bonding area, screw or boss locations, and the planned tail exit direction.
- Use conditions such as outdoor glare, cleaning method, glove use, night operation, and temperature range.
- Sample approval criteria, including acceptable hot spots, edge glow, icon contrast, and viewing angle.
If some of these details are not final, say so in the Request Quote form. A supplier can still suggest a first sample structure, but the open points should be visible before tooling or batch pricing.
When should the design be changed before mass production?
Change the design before mass production if the first sample has a repeated readability defect rather than a one-off assembly issue. Examples include edge glow along the same side, one icon that is always darker, a bright LED point under a large key, or adhesive lifting near the light guide.
For Baoshengda sample review, send photos or a short video of the lit panel in the real housing position. Mark the problem area on the drawing. That makes it easier to adjust the LED position, diffusion layer, printed blocking layer, adhesive opening, or overlay finish before the next sample.
The goal is not to make the brightest panel. The goal is to make a backlit membrane switch that operators can read, press, clean, and install without surprises.
Need help reviewing a structure?
Send your drawing, photos, application, and quantity. Baoshengda can help check the structure before sampling.
Send Drawing for Quote