
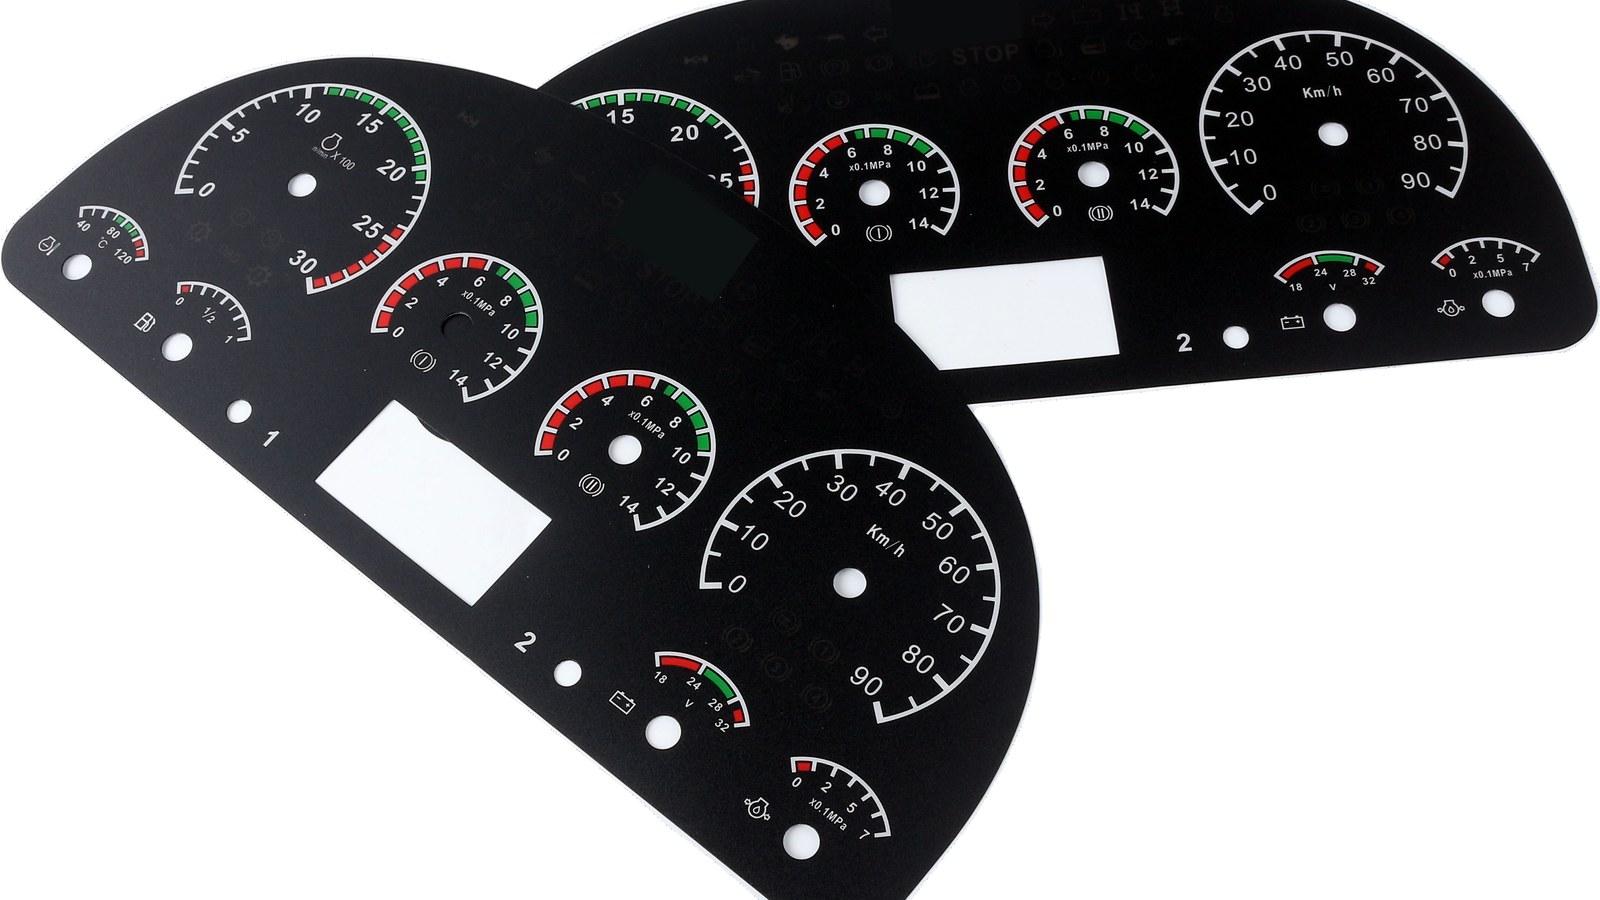
Quick answer: approve an automotive dashboard overlay only after the icons, backlight windows, display cutouts, and adhesive support are checked on the mounted cluster or a close fixture. A flat loose overlay can look correct while the installed part shows shifted warning icons, uneven night illumination, or window edges that do not match the display and housing. If your project involves a curved instrument overlay or physical HMI surface, the automotive dashboard overlay page is the closest product reference.
The buyer question is not only artwork accuracy
Many dashboard overlay reviews start with a drawing comparison. That is useful, but it does not prove the part will read correctly after assembly.
The common sample-stage complaints are narrower:
- A warning icon sits slightly off the molded light guide.
- A display window leaves a bright edge or dark shadow after installation.
- A pointer or gauge opening looks centered on the print but not on the cluster housing.
- Matte texture reduces glare but makes small legends harder to read at night.
- Adhesive support is missing near a long cutout, so the overlay edge lifts after heat exposure.
- The tail or stiffener forces the overlay to sit under stress near one corner.
A buyer should treat the overlay, housing, light guide, and display stack as one review item. The printed part alone is only half of the evidence.
Check icon registration against the real light path
Backlit dashboard overlays often contain translucent symbols, dead-front icons, small gauge marks, and display windows. A print file can be correct while the light path is not.
Before sample approval, confirm these points:
- Which icons must be visible only when lit and which marks stay visible in daytime.
- Whether each icon centerline matches the LED, light pipe, or molded window behind it.
- Whether the overlay has enough opaque border around each lit area to prevent glow bleed.
- Whether tolerance stack-up from printing, die cutting, adhesive, and housing location has been included.
- Whether the buyer wants a soft glow, a sharp icon edge, or a dead-front effect when off.
- Whether the night review is done from the real driver viewing angle, not straight above the bench.
The tradeoff is simple. A wider translucent area is more forgiving for assembly, but it may create fuzzy light edges. A tighter mask looks cleaner but needs stronger control of housing and print tolerance.
Display windows and gauge openings need mounted checks
Display and pointer windows should not be approved from a white-background photo. The real question is how the window sits over the display, pointer shaft, or indicator cavity after the overlay is bonded.
Review these details with the housing or fixture:
- Window shape, corner radius, and border width against the real display opening.
- Overlay flatness around long rectangular cutouts.
- Adhesive support near the window edge so the surface does not float or wrinkle.
- Whether the display has a raised lens, recessed lens, or air gap behind the overlay.
- Whether the printed border hides the mechanical edge from the normal viewing position.
- Whether the overlay edge can tolerate cleaning wipes without catching at the window border.
One risk is approving a clean window on a loose sample, then finding a thin bright line at the edge when the display turns on inside the cluster.
Adhesive and tail routing can move the front appearance
For automotive dashboard overlays, the back side can decide the front-side result. Adhesive thickness, cutout support, stiffener position, and tail exit direction can change how the overlay sits on the panel.
Ask for these checks before signing off:
- Adhesive coverage around windows, screw bosses, and curved housing areas.
- Tail exit direction and first bend radius after the overlay is seated.
- Stiffener position relative to the connector and any nearby rib or bracket.
- Whether the overlay must cross a slight step, radius, or textured housing surface.
- Whether heat exposure may soften the adhesive near a long unsupported edge.
- Whether rework or service access could pull on the tail during cluster assembly.
The sample may pass a visual check before bonding and fail after the tail is folded into the real space. That is why the mounted review matters.
A practical sample review sequence
Use a short sequence instead of a single appearance photo:
- Place the overlay on the real cluster housing or a fixture with matching locator points.
- Check daytime readability from the expected driver or operator angle.
- Light the icons and display windows in a dim room and look for bleed, shadow, and shifted symbols.
- Press gently around long cutouts and window borders to see whether the surface floats.
- Route the tail through the planned path and close the nearest housing part if possible.
- Warm the mounted sample if the final product may face cabin heat or parked-vehicle storage.
- Recheck window borders, adhesive edges, and icon alignment after the assembly returns to room temperature.
This sequence does not replace formal validation. It prevents the early sample from being approved on the wrong evidence.
RFQ checklist for dashboard overlay projects
Send these items before requesting a quotation or revised sample:
- Artwork file with icon layers, dead-front areas, display windows, and gauge marks separated.
- Housing or cluster drawing showing locator points, screw bosses, ribs, and display openings.
- Backlight method, including LED, light pipe, diffuser, or display light source if known.
- Day and night appearance target, including whether icons should disappear when off.
- Surface finish preference such as matte, gloss, anti-glare, or hard-coated PET.
- Adhesive requirement and any heat, cleaning, or curved-surface concerns.
- Tail route, connector position, bend space, and whether the cluster will be reopened for service.
- Sample evidence needed for approval, including mounted photos, lit-window photos, or short review video.
If your team is ready to review a drawing package, send it through the Request Quote form so the overlay print, window fit, backlight path, adhesive stack, and tail route can be checked together.
Final approval rule
For an automotive dashboard overlay, the sample should be approved only when the mounted part confirms icon registration, lit-window behavior, display border fit, adhesive support, and tail clearance. A loose overlay photo can support the review, but it should not be the final approval evidence for a cluster-facing part.
Need help reviewing a structure?
Send your drawing, photos, application, and quantity. Baoshengda can help check the structure before sampling.
Send Drawing for Quote