
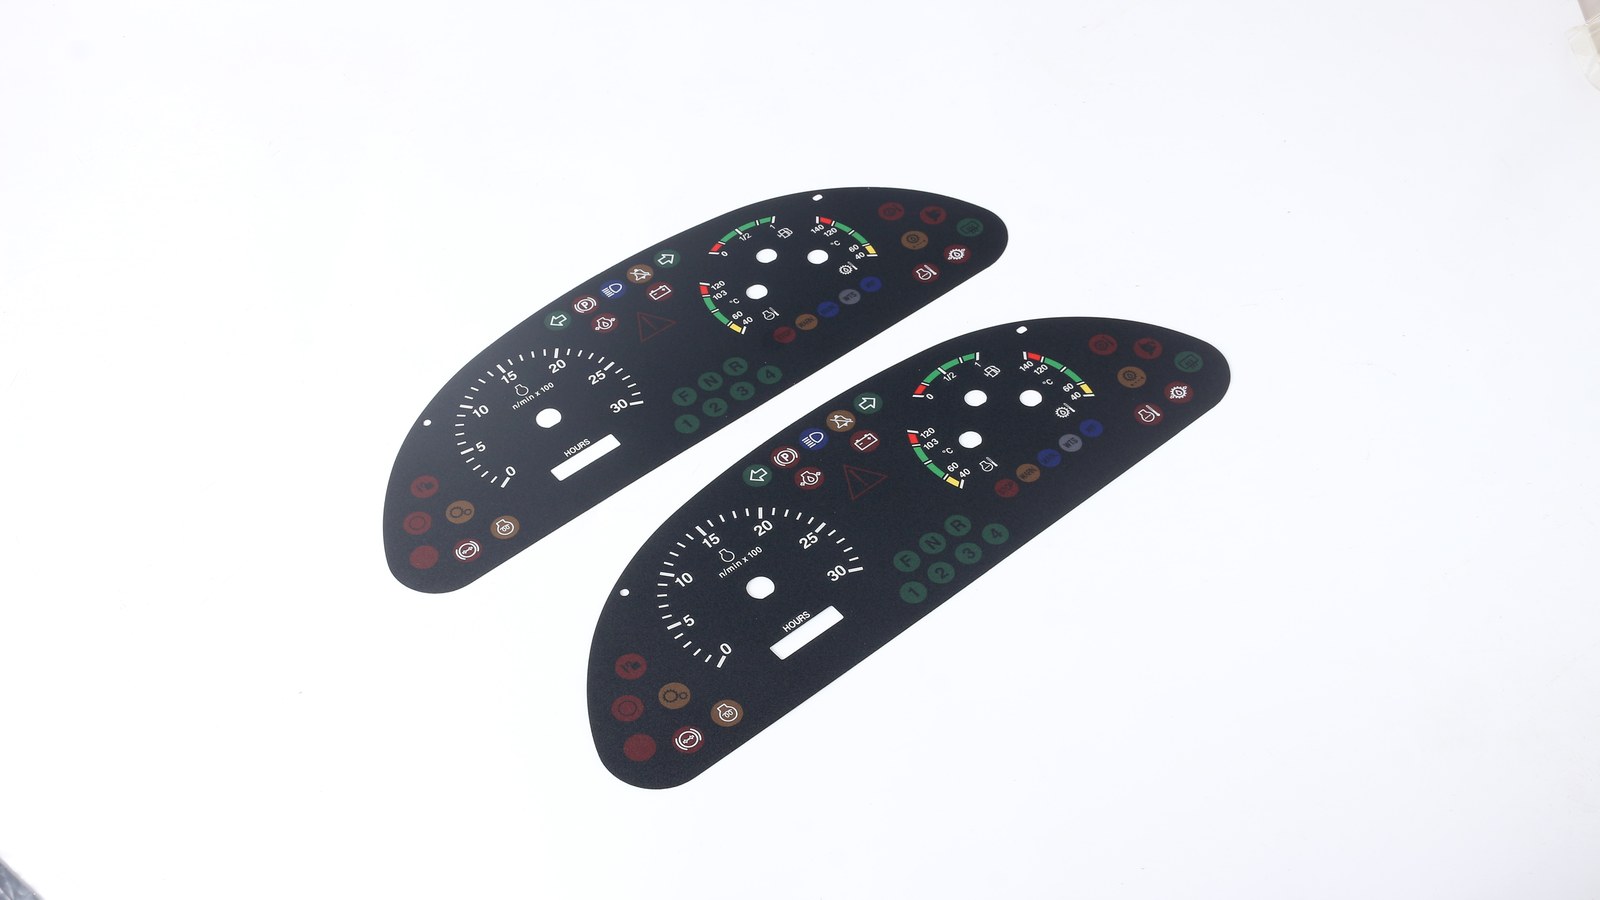
Quick answer: before approving an automotive dashboard overlay sample, confirm the adhesive landing area, housing curvature, cutout support, icon or window registration, and heat exposure in the mounted condition. A flat table review can miss edge lift, stress around holes, or adhesive gaps that appear only after the overlay is installed in the dashboard housing. Baoshengda's automotive dashboard overlay page is the closest product reference for this buyer question.
A dashboard overlay that looks correct on a flat table can still lift or shift after assembly. Housing curvature, recess depth, cutout support, adhesive landing width, and heat exposure should be reviewed on the real part or a representative fixture before approval.
What should be checked before the first dashboard overlay sample?
Start with the housing, not only the artwork. Dashboard overlays often include curved edges, screw holes, display windows, warning icons, gauge openings, or thin bridges between cutouts. These areas decide whether the overlay can be mounted without stress.
Ask the supplier to review these points before tooling or sample cutting:
- Real housing drawing or scanned profile, including curved corners and recessed areas.
- Overlay outer size, hole position, window size, and any notch near the tail or connector route.
- Adhesive landing width around the full perimeter and around each opening.
- Areas where the operator will press, wipe, or touch during service.
- Heat exposure near sunlight, vents, lighting, or electronics behind the cluster.
One common failure mode is a sample that looks neat when unmounted, then lifts at a narrow border after it is pressed into the dashboard frame. Another is a display window that aligns on a drawing but shifts after the overlay follows a curved surface.
How much adhesive landing area is enough?
There is no single safe width for every dashboard project. The answer depends on substrate, surface texture, curvature, operating temperature, cleaning exposure, and how close the adhesive sits to holes or display windows. Buyers should not approve a layout only because the outer shape matches the CAD file.
Use this review table during the drawing stage:
| Area to review | Why it matters | What to send for RFQ or sampling |
|---|---|---|
| Outer perimeter | Edge lift often starts here | Housing photos, curve radius, surface finish |
| Display window border | Thin adhesive can creep or show haze | Window size, clear area, viewing angle |
| Screw or clip holes | Stress can tear the printed layer | Hole size, fastener position, assembly order |
| Gauge or icon zones | Misalignment is visible to the driver | Artwork file, tolerance target, backlight plan |
| Tail or cable exit | The overlay can be pulled during assembly | Tail direction, bend area, connector space |
A wider adhesive path may improve contact, but it can reduce window size or crowd icons. A thinner path may help layout freedom, but it needs a cleaner housing surface and tighter assembly control.
Which sample evidence should buyers request?
Request evidence from the installed condition. A loose overlay photo is useful for artwork and color, but it does not prove housing fit. The sample review should show whether the overlay sits flat, whether edges remain supported, and whether holes or windows match the actual part.
A practical sample package can include:
- Front-view and angled photos of the overlay mounted on the housing or a representative fixture.
- Close views around the narrowest adhesive borders, holes, corners, and display window.
- Confirmation of material choice, thickness, surface finish, adhesive type, and liner.
- Backlight or icon-window photos if the dashboard uses warning symbols or illuminated zones.
- Notes on any manual assembly pressure, fixture, dwell time, or cleaning step used during mounting.
If the project still has no final housing, ask for the sample to be reviewed on a temporary fixture with the same curve and landing width. That is better than approving only a flat overlay.
What tradeoffs should engineering and purchasing decide early?
Dashboard overlay decisions often affect cost, sample timing, and visible quality at the same time. Engineering may want tight cutouts and thin borders. Purchasing may want a stable process with less scrap risk. Both sides should agree on the priorities before sample approval.
Important tradeoffs include:
- PET or PC surface choice versus scratch, chemical, and heat exposure.
- Matte or textured finish versus icon clarity and cleaning marks.
- Thick adhesive for texture compensation versus edge step height.
- Tight window tolerance versus assembly variation in the housing.
- Strong backlight opacity versus color matching and printed-layer thickness.
Do not hide these decisions until mass production. If the overlay must pass heat soak, wipe-down, or backlight review, include those conditions in the sample request.
What should buyers send with the RFQ?
A useful RFQ for an automotive dashboard overlay should let the supplier judge the installed part, not only the printed surface. If you are preparing a quotation request, send the product page context first, then use the Request Quote form with the evidence below.
Send this action list when possible:
- 2D drawing with outer profile, holes, windows, tolerance targets, and revision number.
- 3D housing file or clear photos showing curvature, recesses, clips, and surface texture.
- Artwork file with icon colors, warning symbols, transparent windows, and backlight areas.
- Material preference for PET, PC, PMMA, hard coat, texture, and adhesive.
- Expected heat, sunlight, cleaning, vibration, and assembly conditions.
- Sample quantity, review method, and acceptance points for mounted photos or fixture checks.
This information helps Baoshengda review the adhesive landing path, housing fit, print stack, window registration, and sample evidence before the first dashboard overlay is made.
Need help reviewing a structure?
Send your drawing, photos, application, and quantity. Baoshengda can help check the structure before sampling.
Send Drawing for Quote