
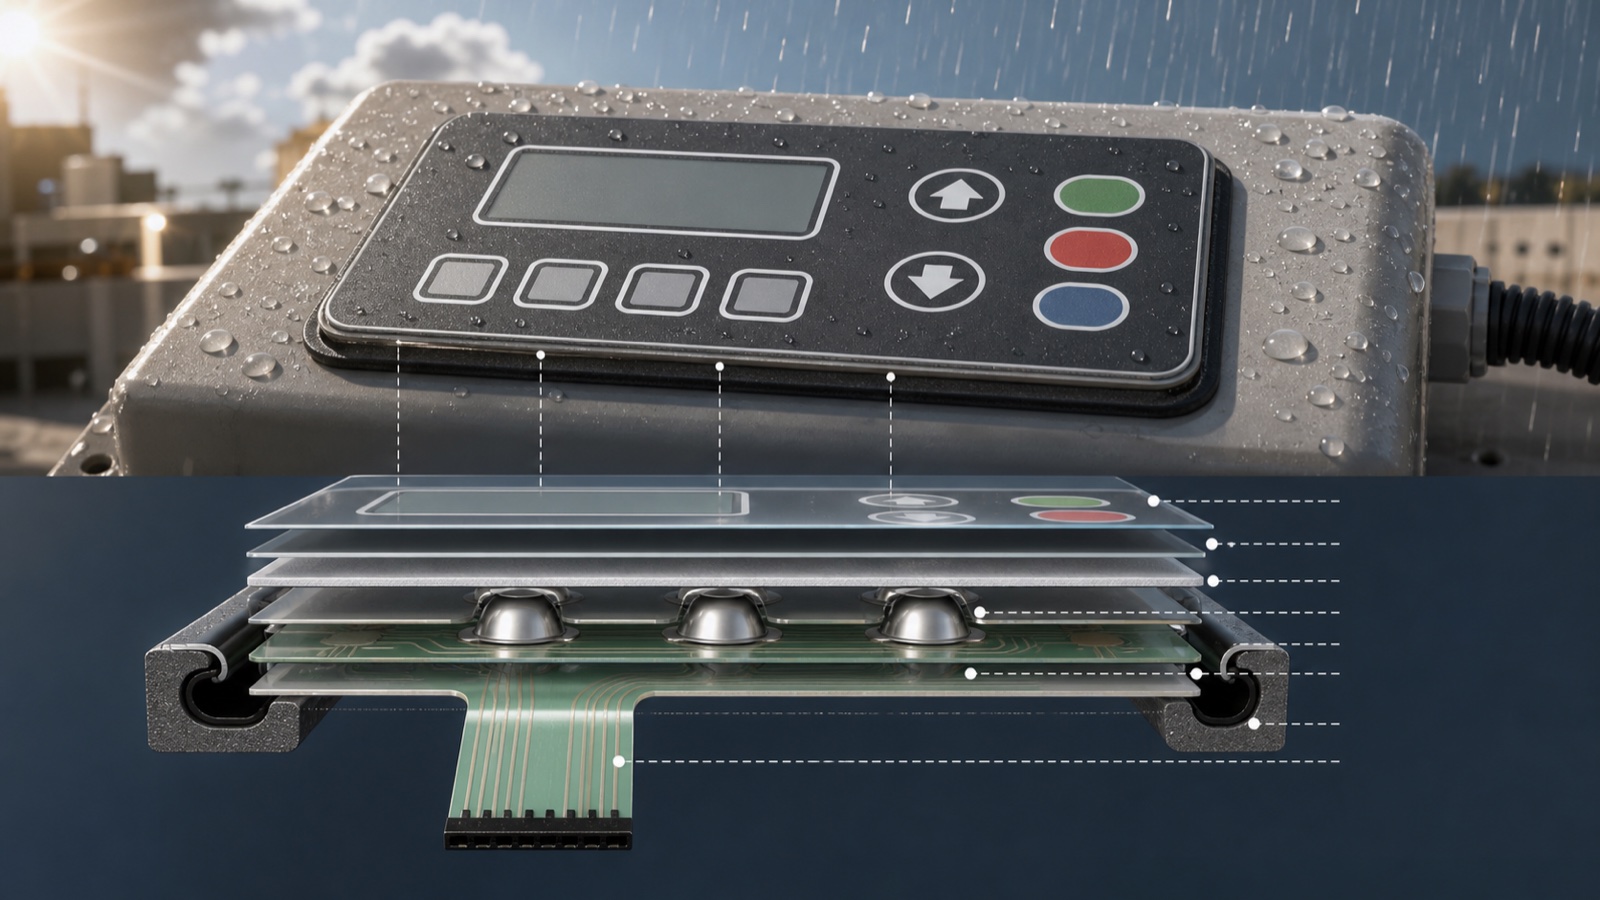
Quick answer: if your equipment will sit in sun, humidity, and sudden rain, do not approve a waterproof membrane switch from artwork and key feel alone. The important checks are where water can enter after assembly, how the adhesive behaves after the enclosure heats up, how the tail exits the housing, and whether the finished unit still seals after pressure, bending, and repeated key use. If your project already needs a sealed front panel, the waterproof membrane switch page is the closest product reference.
Why this buyer question is current
Summer field conditions are already a useful warning sign. The NWS Houston forecast office is carrying heat-focused conditions for June 20, and the NHC Atlantic outlook is the kind of page many Gulf-facing equipment teams watch during the warm-season weather cycle. Buyers do not need a named storm to expose a weak front panel. A sealed keypad that looks fine in an air-conditioned room can fail after sun load, wet housing surfaces, and repeated cooling after rain.
That is why waterproof membrane switch approval should be treated as an assembled sealing question, not only as a printing or tactile question.
Where hot-wet trials usually expose the structure
Loose samples often hide the real problem.
- A perimeter bond can look flat on the bench, then lift after the housing surface warms and cools repeatedly.
- A tail exit can stay dry in a short hand test, then start wicking moisture after the cable bends or the rear strain area moves during assembly.
- A display window can stay clear at first, then show edge contamination or trapped moisture after enclosure pressure changes.
- A nice key feel can change after the front panel is compressed against a gasket or uneven mounting surface.
A buyer who only checks the loose keypad may approve the wrong stack. The field issue appears later, after the switch is fixed to the real housing.
What to confirm in the membrane-switch stack before sample approval
Start with the sealing path, not the artwork.
- Confirm the housing surface finish. Powder coat texture, brushed metal, molded ribs, or recessed labels can change adhesive contact.
- Confirm whether the sealing plan depends on perimeter adhesive only, a gasket, a bezel clamp, or a combination.
- Check the tail-exit zone carefully. Buyers should define tail direction, bend space, backing support, and whether the exit area needs extra sealing or strain relief.
- Review display windows and indicator openings. A waterproof front panel is often limited by the weakest opening, not by the strongest flat area.
- Confirm whether the switch will face alcohol wipes, detergent residue, UV exposure, or standing water around the edge.
If the project also needs illuminated keys or indicator areas, move that discussion into the same review so the waterproof structure is not weakened later by last-minute cutouts or light windows.
Test the assembled unit, not only the loose sample
A useful waterproof trial should copy the real mounting condition as closely as possible.
- Mount the sample to the actual enclosure material or a close mockup.
- Run a heat soak with the panel fixed in place, then check edge lift, key travel, and window appearance after cooldown.
- Repeat key presses after the panel has seen moisture, not just before.
- Inspect the rear side of the tail exit and connector area for moisture tracks or adhesive movement.
- Check whether panel compression changes tactile response near the corners or near the display window.
One common failure mode is simple: the front looks sealed, but the rear side of the tail exit becomes the water path. Another is adhesive creep at one long edge after the enclosure sits in sun.
RFQ checklist for a waterproof membrane switch used outdoors
Send these items before asking the supplier to lock the sample:
- Front-panel size, cutout drawing, and mounting-surface material.
- Product photos that show the bezel, recess, or frame around the switch area.
- Expected water exposure: splash, wipe-down, condensation, rain, or washdown.
- Temperature range or at least the hottest realistic field condition.
- Tail direction, connector type, rear clearance, and bend space.
- Window locations, LED or display areas, and any dead-front requirement.
- Cleaning chemicals, UV exposure, and known failure history from the current version.
If your team is ready for engineering review, send the package through the Request Quote form so the sealing path, tail exit, and assembled test plan can be checked together.
Final decision point before you approve the sample
For outdoor equipment, a waterproof membrane switch is only as good as its weakest entry point after assembly. Buyers usually get a better first sample when they define the housing surface, edge seal, tail-exit support, window openings, and hot-wet test condition before artwork approval is treated as final.
If the project is already moving toward pilot build, review the assembled front panel under heat and moisture before mass production release. That step is cheaper than replacing field units after the first wet season.
Need help reviewing a structure?
Send your drawing, photos, application, and quantity. Baoshengda can help check the structure before sampling.
Send Drawing for Quote