
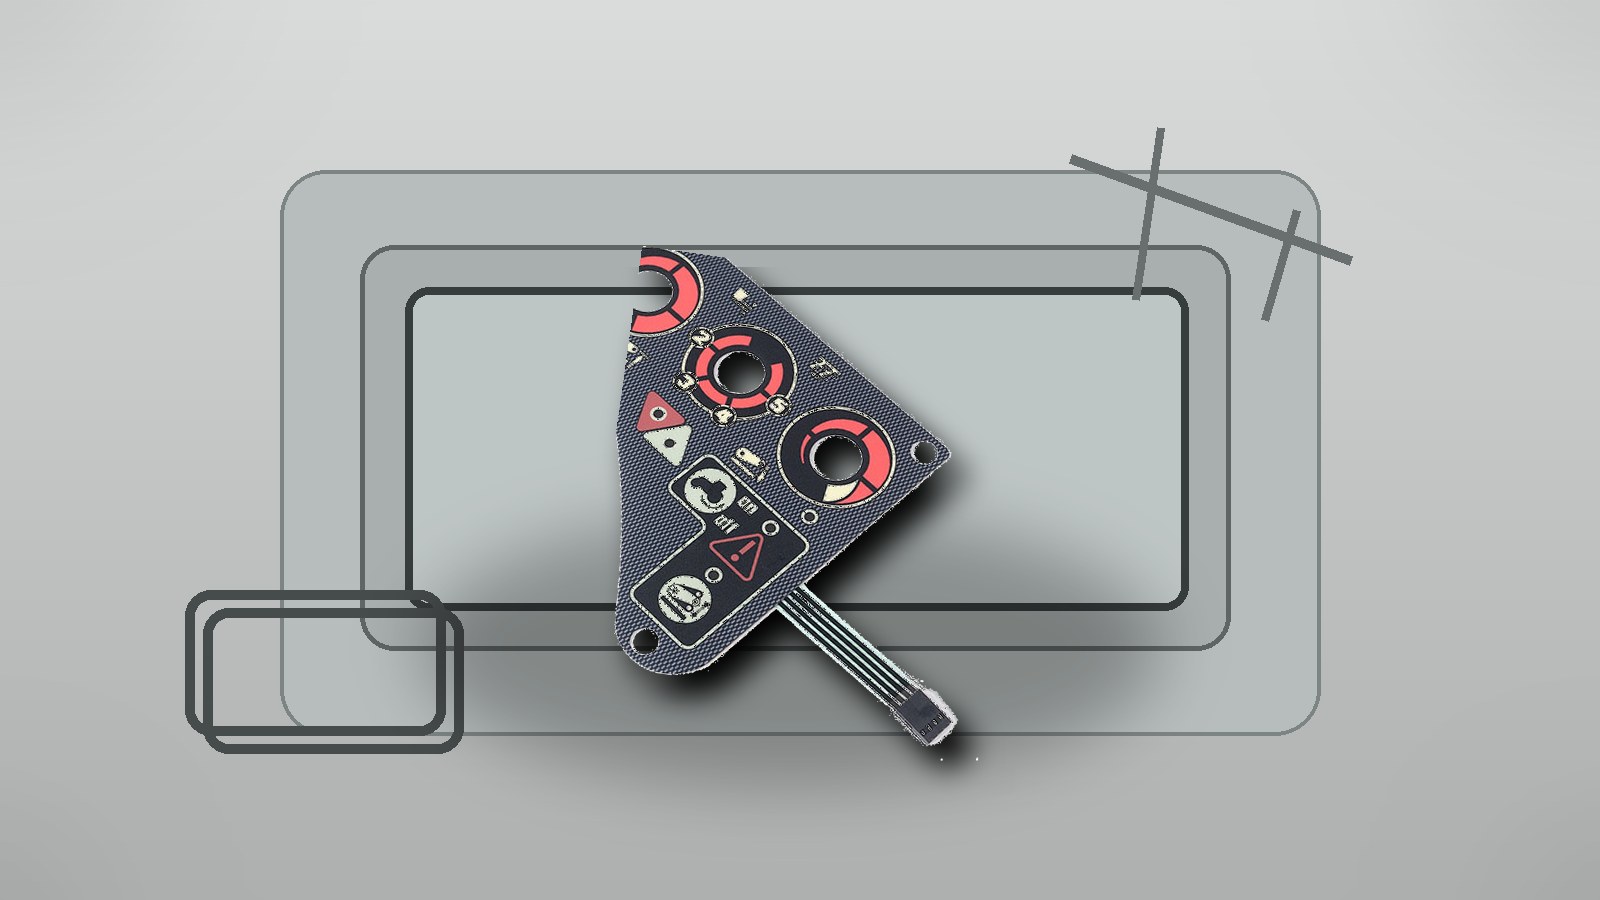
A waterproof membrane switch should not be judged only by the word waterproof on the drawing. The safer question is whether the overlay edge, adhesive landing, housing surface, window areas, and assembly pressure can keep liquid away from the circuit during the real use condition. For outdoor controllers, cleaning equipment, vehicle accessories, and wet industrial panels, buyers should confirm these front-seal details before the first sample is made.
Baoshengda's waterproof membrane switch projects usually need the drawing, housing photo, exposure description, and sample approval criteria reviewed together. A narrow seal edge may look compact, but it can become the first failure point if the housing is textured, curved, oily, or frequently cleaned.
What should a buyer check first?
Start with the front surface, not the connector. The front of the panel is where rain, wiping, gloves, oil, dust, and operator pressure usually reach the switch first.
Check these items before asking for a sample price:
- The minimum adhesive landing width around the outside edge.
- Whether any key, LED window, display window, screw hole, or embossing area sits too close to the seal path.
- Whether the housing surface is flat, textured, powder coated, painted, or slightly curved.
- Whether liquid can sit against the lower edge after installation.
- Whether the operator presses near an edge or corner during normal use.
- Whether cleaning chemicals, alcohol wipes, salt fog, oil, or outdoor UV exposure are part of the real condition.
If the drawing only shows panel size and key layout, the supplier may quote a normal membrane switch structure while the final equipment needs a wider sealing land or different adhesive.
Why front-seal width matters
A waterproof design needs a stable barrier between the exposed edge and the circuit area. When the edge is too narrow, small changes in die cutting, housing tolerance, or assembly pressure can reduce the effective seal.
Common risks include:
- The overlay edge lifts after repeated wiping or outdoor temperature change.
- Water reaches a spacer gap near a key area.
- A display window corner becomes a leak path because the adhesive frame is too thin.
- A textured plastic housing prevents full adhesive contact.
- A screw boss or molded rib under the panel creates a local high spot.
The tradeoff is size. A wider landing area may increase the front panel footprint, but it usually gives more room for adhesive, edge sealing, and die-cut tolerance. If the equipment cannot accept a larger panel, the buyer should discuss the exposure level and sample test method early instead of assuming the same structure will pass.
How should the housing be reviewed?
The membrane switch and the enclosure work as one assembly. A good switch can still fail if it is bonded to the wrong surface.
Ask the engineering team to provide:
- A photo or 3D view of the real mounting area.
- Housing material, such as ABS, PC, aluminum, stainless steel, or powder-coated metal.
- Surface finish and any texture depth near the adhesive area.
- Flatness tolerance or known sink marks around the mounting area.
- The direction of water flow, hose spray, condensation, or cleaning wipe movement.
- The tail exit path and whether it bends immediately after the panel edge.
For outdoor HMI panels, the front seal should be checked together with tail routing and connector protection. If the previous risk is mainly at the rear connector, use a tail-exit checklist. If the risk is rain, washdown, or front wiping, focus first on the adhesive landing and exposed edge.
What sample evidence is useful?
Do not approve the first sample only by appearance. A waterproof membrane switch sample should answer whether the actual assembly can be bonded, pressed, cleaned, and handled in the same way as the final device.
Useful sample checks include:
- Bond the sample to the real housing or a housing material coupon, not only to a clean test plate.
- Check edge lifting after the adhesive has settled for the agreed time.
- Press the keys near the edge and corner areas, then inspect the seal line.
- Wipe across the edge with the real cleaning method if cleaning is part of use.
- Check window corners, LED windows, and embossed keys under side light.
- Confirm the tail does not pull the panel up when routed inside the enclosure.
One sample-stage risk is over-testing a structure that was never designed for immersion. Occasional rain, wiping, humidity, and direct hose spray are different problems. The exposure should be written clearly before the sample is made.
RFQ checklist for waterproof front-seal projects
To get a useful quotation, send more than artwork. A reliable RFQ package should include:
- 2D drawing or size sketch with key layout, window areas, and outside dimensions.
- Artwork file if printing, icons, dead-front areas, or backlight windows are needed.
- Housing photo, CAD screenshot, or sample of the mounting surface.
- Required seal area or any space limit around the panel edge.
- Exposure condition: rain, splash, wiping, humidity, oil, alcohol, detergent, outdoor sunlight, or temperature cycling.
- Tail direction, bend space, connector type, and PCB position.
- Expected quantity, sample quantity, and approval test method.
If the project is still early, send the housing photo and intended use first through the Request Quote form. Baoshengda can review whether the front seal, adhesive landing, and tail route need adjustment before quoting the sample structure.
Need help reviewing a structure?
Send your drawing, photos, application, and quantity. Baoshengda can help check the structure before sampling.
Send Drawing for Quote